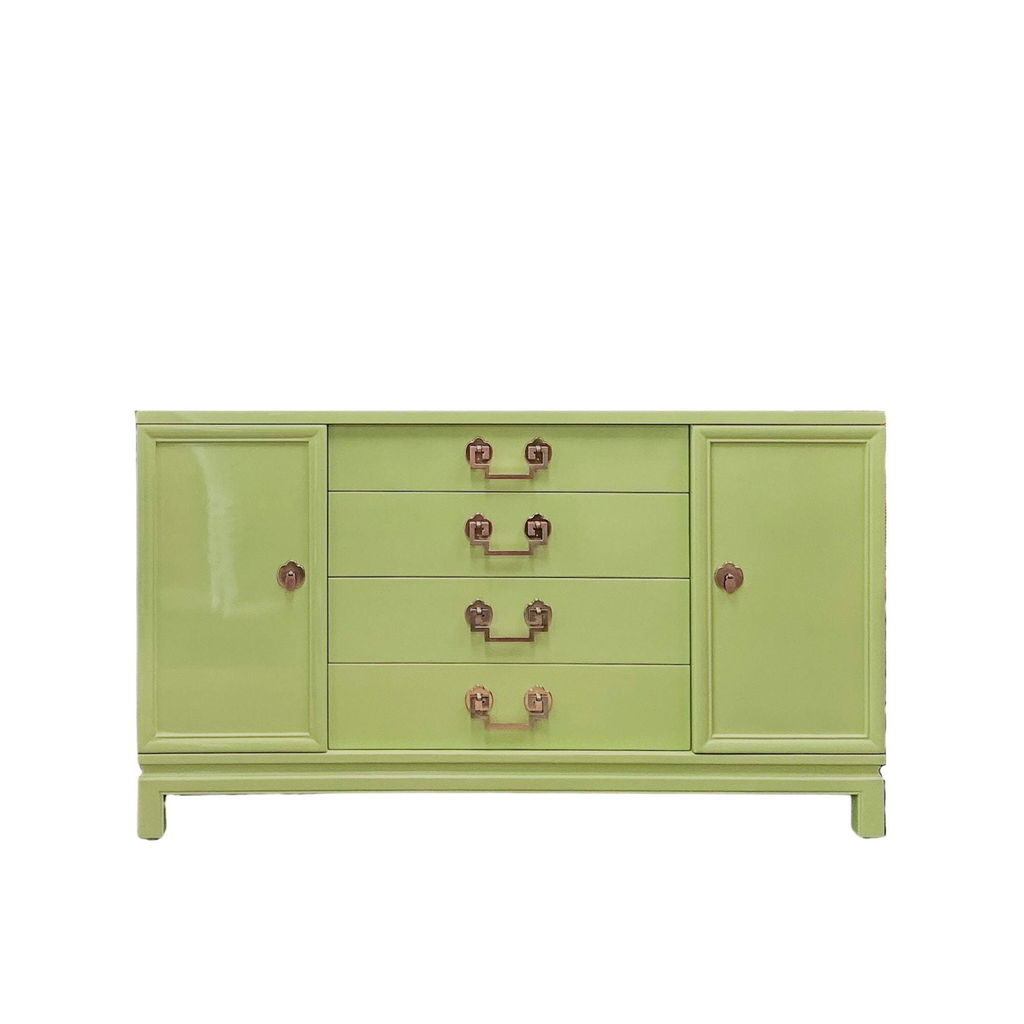


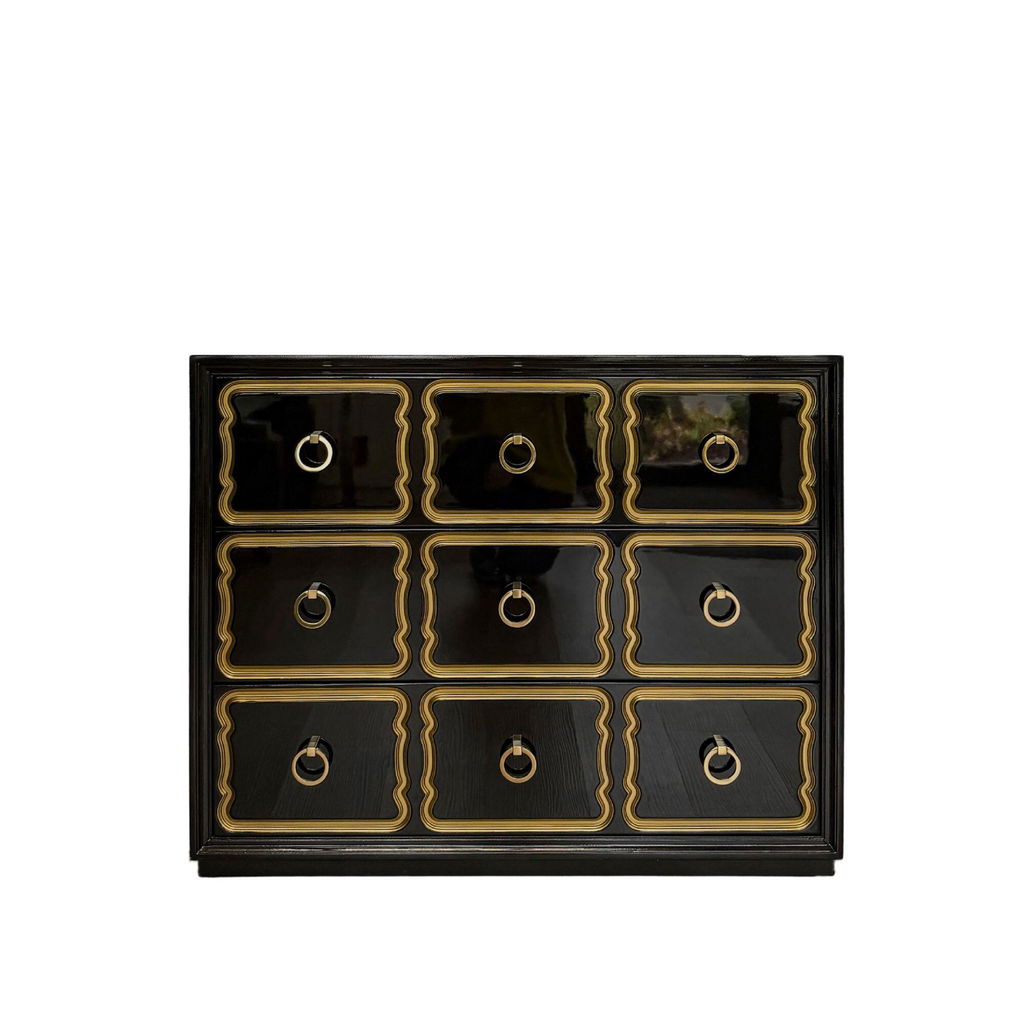
Named for my Grandma (& the original designer), the Dorothy Thorpe Espana chest is truly beautiful ~ destined to be a family heirloom. The care and attention to detail Casey gives is remarkable. Love “Dorothy” and have nothing but praise for Casey, the smooth process & beautiful result! Can’t thank you enough.
Thank you so much for the excellent personal service. Millie loves her new home and I love having a beautiful piece in which to store all of my clothes. Everything you do is with care and it shows!
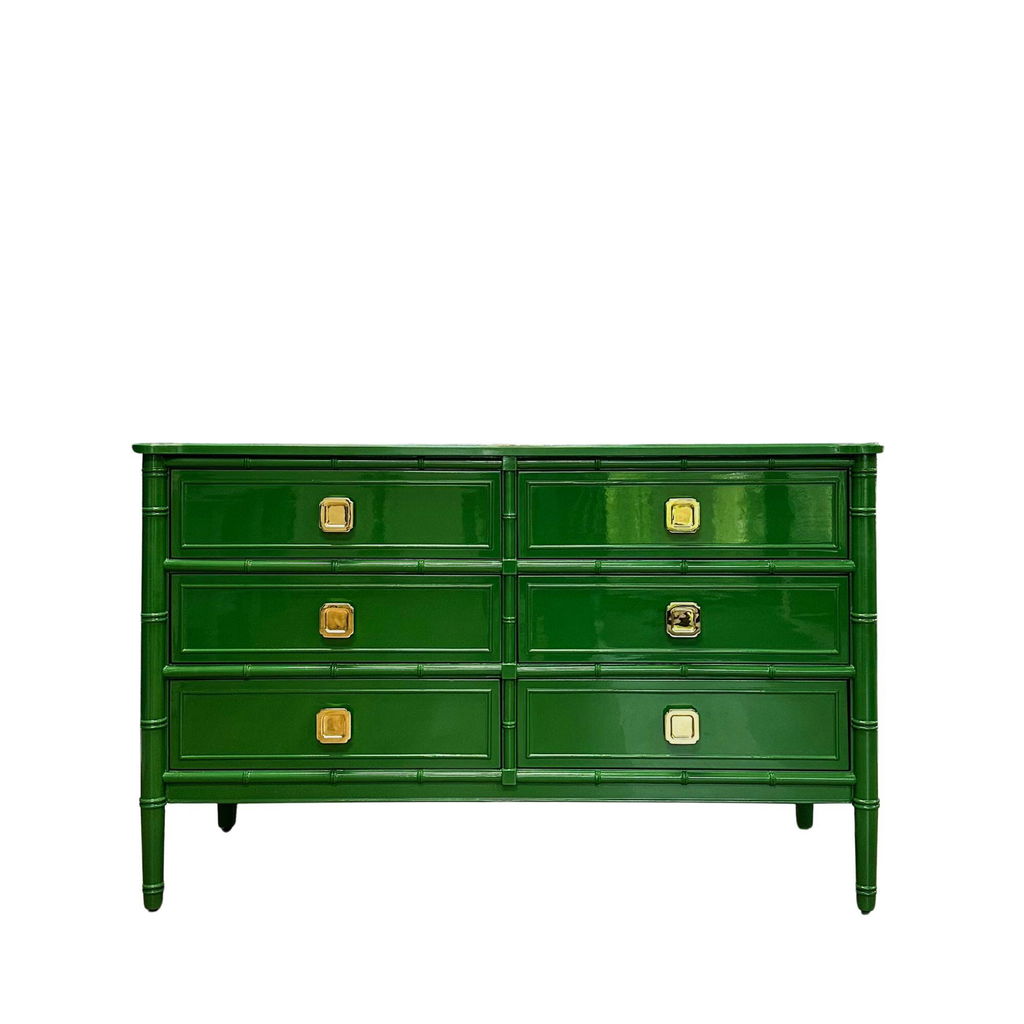
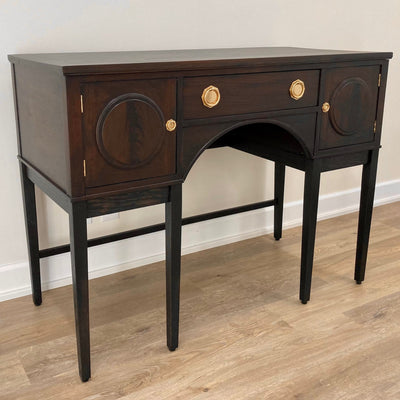
Beautiful lacquered sideboard, meticulously done, and delivered promptly. Recommend this seller highly!